
“Service” is defined as “a method for exposing a network application that is running as one or more Pods in your cluster” in the Kubernetes documentation. A permanent or static IP address that can be connected to the Pod is called a service. We require a Service because the Pod and Service have separate life cycles. This means that even in the event that the Pod dies, the Service and its IP address will persist, saving us from having to replace that endpoint each time the Pod dies.
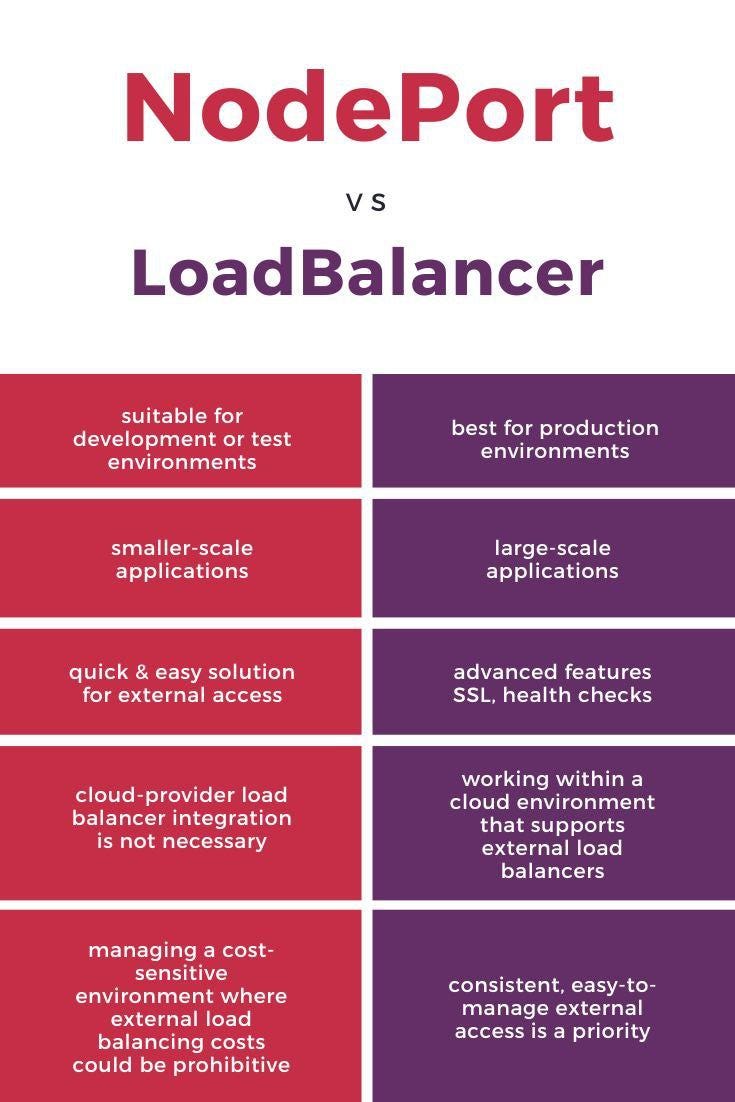
ClusterIP, NodePort, and LoadBalancer are the three most used service types in Kubernetes. These Services offer various means of enabling Pods to be reachable by clients outside of the cluster as well as by other Pods within it.
NodePort:
1. Make your service available outside your cluster
2. Expose the service on the same port of each selected node in the cluster using NAT.
3. This is the top-level service of the clusterIP
4. Here, we need to know, and instead of I,P we will use Public Ip of our host.
5. If you set the type field to NodePort, the Kubernetes control plane allocates a port from a range specified by — service-node-port-range flag (default: 30000–32767).
6. Each node proxies that port (the same port number on every Node) into your Service. Your Service reports the allocated port in its .spec.ports[*].nodePort field
7. When you only pass .spec.type to NodePort then it will take any random unique port from the default range
8. But If you want to specify particular IP(s) to proxy the port, you can set the — nodeport-addresses flag for kube-proxy or the equivalent nodePortAddresses field of the kube-proxy configuration file to particular IP block(s).
Example:
apiVersion: v1
kind: Service
metadata:
 name: my-service
spec:
 type: NodePort
 selector:
  app.kubernetes.io/name: MyApp
ports:
# By default and for convenience, the `targetPort` is set to the same value as the `port` field.
- port: 80
  targetPort: 80
# Optional field
# By default and for convenience, the Kubernetes control plane will allocate a port from a range (default: 30000–32767)
  nodePort: 30007
Example:
kind: Deployment
apiVersion: apps/v1
metadata:
 name: httpddeployment
spec:
  replicas: 1
  selector: # tells the controller which pods to watch/belong to
   matchLabels:
   name: httpddeployment
 template:
  metadata:
  name: testpod1
  labels:
    name: httpddeployment
 spec:
  containers:
-  name: c00
   image: httpd
   ports:
-   containerPort: 80
---
kind: Service # Defines to create Service type Object
apiVersion: v1
metadata:
 name: demoservice
 spec:
  ports:
-  port: 80 # Containers port exposed
   targetPort: 80 # Pods port
  selector:
   name: httpddeployment  # Apply this service to any pods which has the specific label
  type: NodePort # Specifies the service type
Commands:
1. kubectl apply -f filename.yaml
2. Kubectl get all
3. To check that all resources are up and running
4. Sometimes your pod will show imagepullerror, then checkthe image path and the path is correct, then delete your pod and deployment, and recreate it automatically
5. To delete pod ,use the following command: kubectl delete pod/pod_name
6. And now deployment will recreate
7. Now check the minikube public service URL of nodeport to access our pod service from outside the cluster for that use the below command
8. minikube service list
9. Now get the URL and hit from browser and you get the desired output
LoadBlancer:
1. Exposes the Service externally using a cloud provider’s load balancer. NodePort and ClusterIP Services, to which the external load balancer routes, are automatically created.
2. This service example we can’t run on minikube you can test it on any cloud provider K8s service or instance.
3. On cloud providers which support external load balancers, setting the type field to loadBlancer provisions a load balancer for your Service.
4. The actual creation of the load balancer happens asynchronously, and information about the provisioned balancer is published in the Service’s .status.loadBalancer field.
For example
kind: Deployment apiVersion: apps/v1 metadata:
name: httpddeployment spec:
replicas: 1
selector: # tells the controller which pods to watch/belong to matchLabels:
name: httpddeployment
template:
metadata:
name: testpod1 labels:
name: httpddeployment spec:
containers:
- name: c00 image: httpd ports:
- containerPort: 80
---
kind: Service # Defines to create Service type Object
apiVersion: v1 metadata:
name: demoservice spec:
ports:
- port: 80 # Containers port exposed
targetPort: 80 # Pods port selector:
name: httpd
deployment type: LoadBlancer
Commands:
1. kubectl apply -f filename.yaml
2. Kubectl get all
3. Kubectl get svc
4. Copy the loadBlancer Ip with port
5. Run on browser and you can able to get the pod which is running inside the cluster
Hope you have gained some knowledge from it !!
For any queries related to DevOps or Cloud, reach out to neel@getcloud.in